
As soon as I saw this model I knew I wanted to get one! I saw the rules for the flamestorm cannon and knew it would be great to roast all the local marine armies at the local game store. But then I started reading posts about how well the hurricane bolters were doing for people in their games so I couldn't decide on which variant to use. I found some guides on how to magnetize but I found some of them hard to follow. I'm no engineer and I would have liked more info/pictures to help me along. So I thought I'd try to do one, with more pictures and hopefully easier to follow insturctions. So here we go!
The first thing I did was take an inventory of all my peices to see how they fit together. I did a lot of dry fitting to see how the pieces interacted and how they could be put together best. I had magnetized a Baal Predator already (will post some pics of that soon) and thought about doing it the same way. I had put magnets just under the optical device at the top of the strut so I could switch the flamers out for the heavy bolters, and that worked well, but the LR was built just a bit differently. The bottom support threw me for a loop. That's when I decided to glue down the optical device on the LR and just change out the weapons right off the strut. So I went right for it.
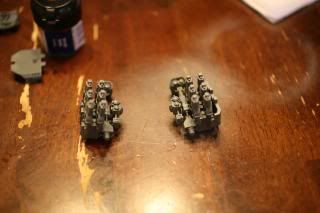
Here's some of the dry fitting I did, it may have been one of the more important steps in the whole process.
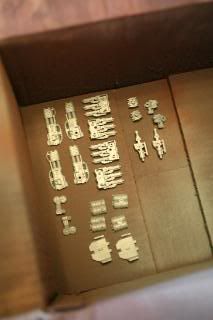
I first started by priming all the gun bits. Some people like to prime on the sprue, but I hate having the marks left over after you cut off the pieces. Here's all the pieces laid out in my priming box. Do one side, let dry, then flip them over for the other side. Really easy.
After the priming was done, it was time to start all the drilling on the bits. I started with the struts. I whittled down the cylindrical hubs that would normally hold the guns until they were flat.

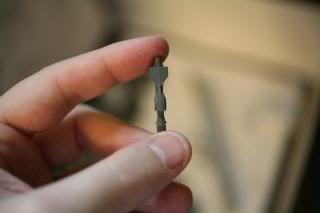
(original shape) (after cutting)
I next drilled through the part that held the hubs. I used a 1/8th inch drill bit because I learned on my Baal Predator that GW likes the 1/8th measurement. I ordered the magnets in the 1/8th by 1/16th and they fit gorgeously into all the places I have needed to magnetize. I would suggest getting this size magnet for what you have to do, they are plenty strong to boot. They hold my all metal flamers quite well on the side of my Baal pred.
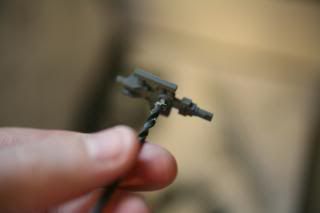
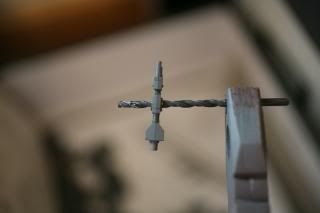
(drilling through) (call me cheap, but who needs a pin-vise?)
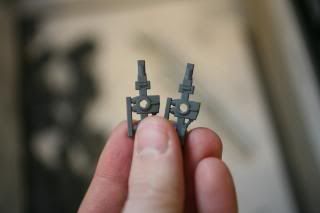
Finished product x2
At this point I glued the magnets into the struts. They are the most important magnets, because most of the direction of the other magnets will be determined by the polarity of these two guys. One note of caution is to let the superglue dry completely before you let these get near any other magnets. The magnets are so strong that they will fly together when close, and they can become glued together. That is bad. Also, when the glue is dry, you can then make sure your polarity of the other magnets is correct by testing them against the originals in the struts.
Next I took the drill bit to the gun pieces to widen the holes a bit so the magnets would slide in easier.
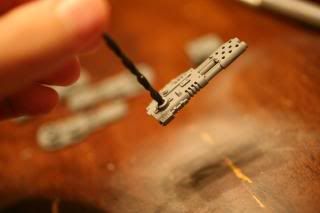
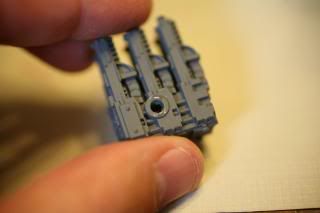
After the strut magnets had dried I tested the polarity and then glued the magnets into the 4 different guns.
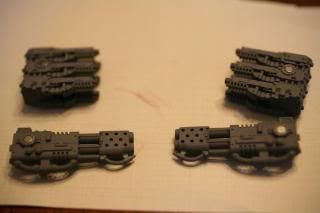
Next it was time to figure out how to attach the outer armor panels. I had a hard time figuring this part out, and truth be told it turned out worse than I had really wanted. But, it did turn out acceptable. The armor plates stick out a bit too much, but I am ok with it.
I began by drilling into the inner tabs on the plates themselves. Because they are so thin it was kind of difficult. So I used my exacto to cut out the pieces that they drill refused to get.
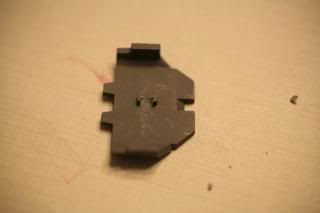
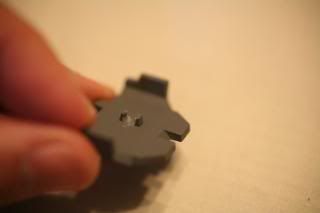
That let perfect sized sockets to help hold the magnet in place. It gives the joint a bit more strenght than just gluing the magnet right onto the flat of the armor panel. The guns got the drill bit next, to allow for a magnet to sit on the outside and attach to the armor panel.
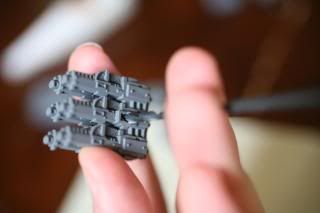
After that I just had to glue magnets into all those new areas and I was ready to move on.
I hope that was helpful and was easier to follow, with the pictures being somewhat helpful. I wish I had a more detailed version before I began, but the ones I did find did help me along the way.
Also, check out K&J Magnetics. These guys are awesome. Fast shipping and killer prices. Right now they have these same sized magnets for $3.00 for only 100 of them. Killer deal, you really can't beat it anywhere else. The link is on the side, just go to the surplus page and the 3 mm by 1.5 mm are the ones you want. Who knows how long they will be at that price?
As I get further along with this project I will post more pictures. There is always something else to do right? But I am anxious to get this tank done and painted, it is going to wow them at the local club!
